Pages

Wednesday, April 18, 2012

Kingtiger - Henschel Turret - Dragon (7240)


Hello everyone
Welcome back to my blog, or if it's your first visit then just welcome :)

As you might have seen I just "finished" my latest Panther project, still a few things to do, but finished enough. So I have selected my next project, which will be one or more 1/72 Kingtigers from Dragon (I got 3), but think I might just start with one, and try some new things and see how it turns out.

So far no pictures, since I havent really technically done much other than just building them, you might be able to find some pictures of this in some of my older posts.


Prepainting


I would just like to talk abit about the kit before I go on to the painting process. As any other Dragon 1/72 kit, this one is amazing as well, it's easy to build, fits great and the details are awesome considering the scale, and also as usual the zimmerit looks fantastic aswell, probably alot better than I would have been able to make myself. So I would definately recommend this kit to anyone who would like to build a Kingtiger in this scale, you won't regret it.


Painting


I simply started by painting the entire tank a light'ish yellow consisting of Tamiya XF-60 and XF-2. I almost only use Tamiya paints for airbrushing and only Vallejo and Games Workshop colors for brushing.


Next up the Camo Scheme, which I decided should be the Ambush pattern. So I cracked open the XF-58 and XF-64 and went to town, afterwards I added to dots with a brush using the same colors and XF-60 for the sandy dots.


Now I wanted to give the entire tank a brown wash or glaze or whatever you want to call it, and for the purpose I allied myself with some Vallejo Washes (Umber Shade and Necro Black). In hindsight I should probably have given the tank a gloss coat first, which I will try next time.


I did have a problem (and still do someplaces....) that the Umber shade dried white'ish, which wasn't exactly the plan, but I'm mending it later.


Bonus Pictures


That's all the work I managed to get done today, next up I think I will fix the brown shade, give everything a coat of gloss, then maybe a darker pin wash followed by a light buff drybrush on the edges of everything.
But lets see what I'm in the mood for when I actually have to work on it again.


Painting Continued


So next up was the pin wash, or atleast a try to do something similar. I used Vallejo Negro Black ink/wash, thinned down with abit of water or Vallejo Thinner (can't really remember).


Before I started a gave the entire tank a coat of gloss varnish.


I tried to do the wash around the details and in the places where it would naturally be darker, generally just to make things stand out more, I think this is especially important in this small scale, were you might not notice it otherwise.

The next thing I did was a highlight on the edges using a flat brush and sortof drybrushing buff on the edges of things to make it stand out even more, this might not be very realistic, but it looks good in 1/72. I used Vallejo Buff for this part.

Next up I painted all the tools and metal parts black and wooden parts a dark'ish brown, this was followed by highlight of gunmetal and a lighter brown.
The tracks were glued on as well at this stage. I had painted them in between waiting for paint to dry, first with a dark brown base color follewed by a black wash, then a rusty oil wash (this require atleast a few days to dry properly, an alternative to oil could probably be used) to finish it it was drybrushed gunmetal.

Then I did the decals, first brushing on some gloss varnish where the decals would go, when that had dried I placed the decals and using some decal softener I was able to make it form to the zimmerit (softener is pretty much essential when trying to place decals on zimmerit otherwise it just looks wrong in my opinion).

Finished Tank


Well tank done, was a pleasure to build and paint, I love Dragon for making 1/72 scale sets in this high quality and to the price they do, it's awesome.


Any comments or suggestions are more than welcome :-)


Until next time


Cheers
Chris


Sunday, April 1, 2012

Panther G - Late Version - Tamiya (35176)


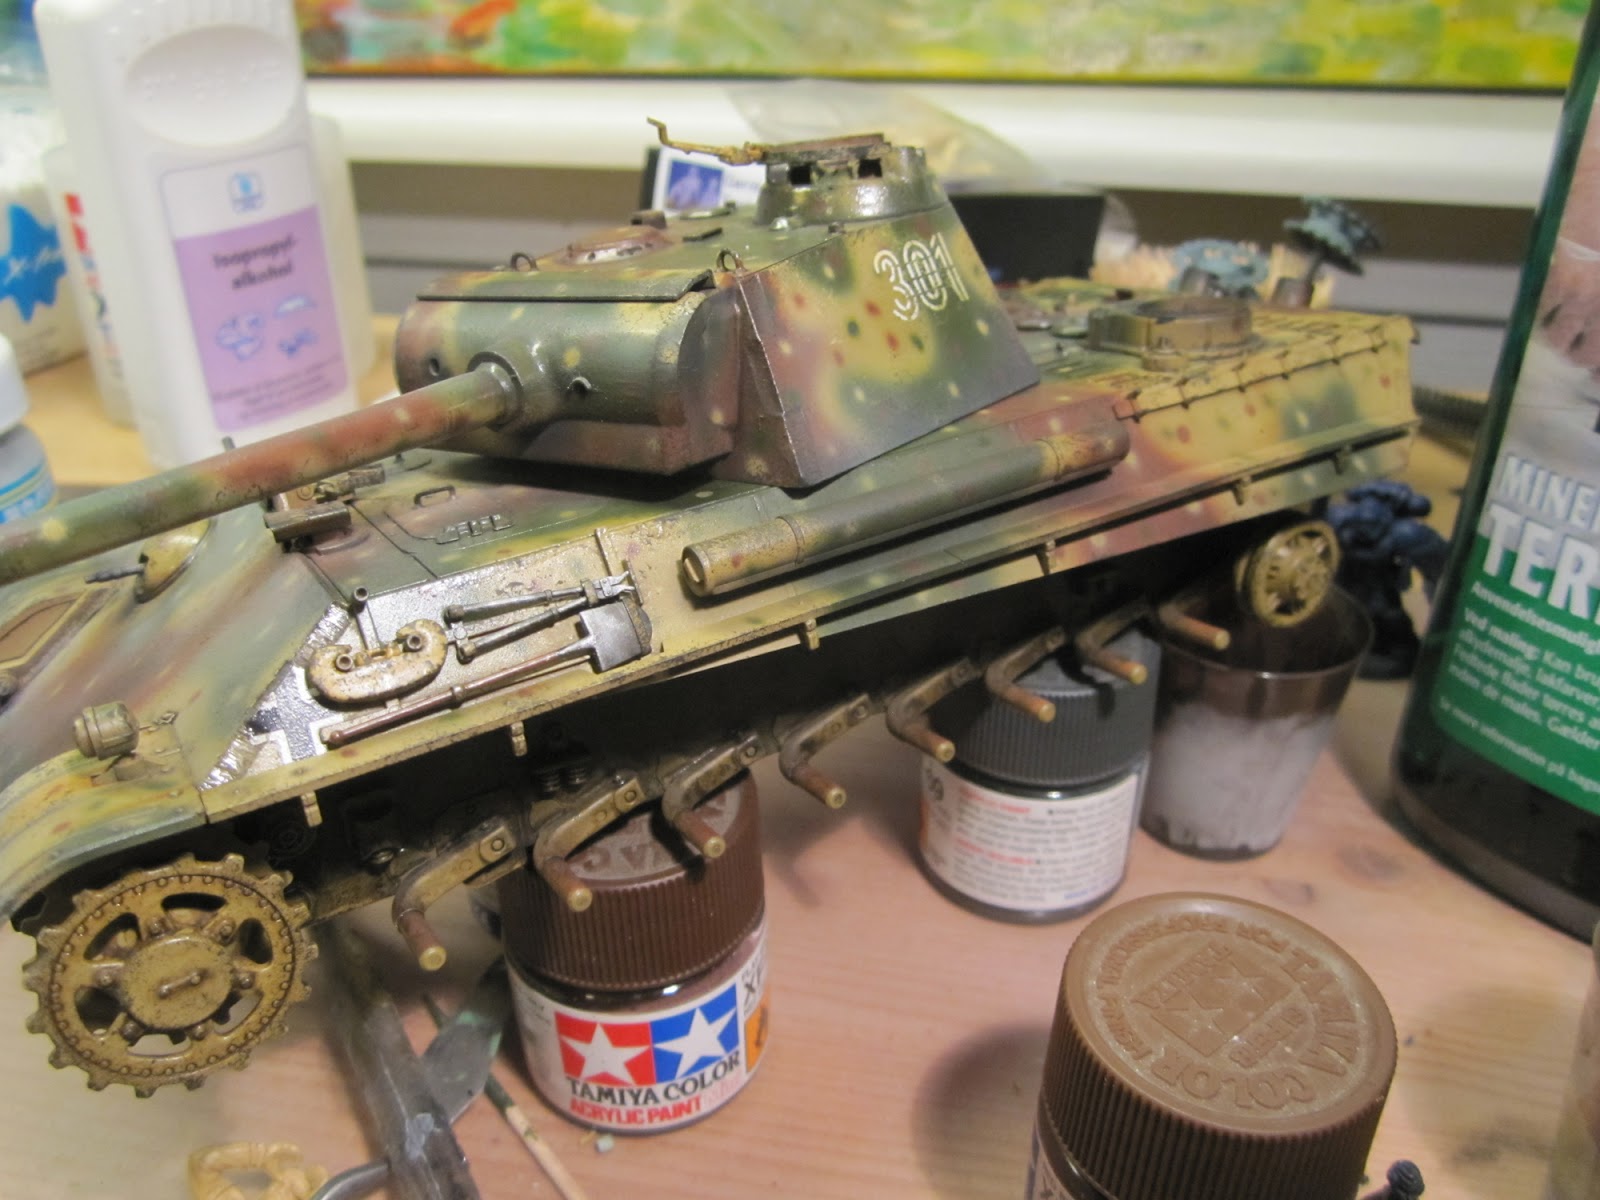
Well I recently started painting one of my Tamiya Panther G's, more specific this one.
Sadly I haven't really taken alot of progress pictures of this kitty yet, but here is the current progress.


The turret have been more or less painted twice, since the first time I wanted to test abit of chipping and I didn't like it (first time trying it, practice makes perfect) so I just repainted the turret.


Currently I'm trying to add some depth by applying some pinwashes for shadows, and I'm currently playing with the idea of drybrushing some edge highlights on afterwards using a buff color (pretty much like I do my 1/72) but as I said, not sure about it yet.


*Update 14.04.2012*
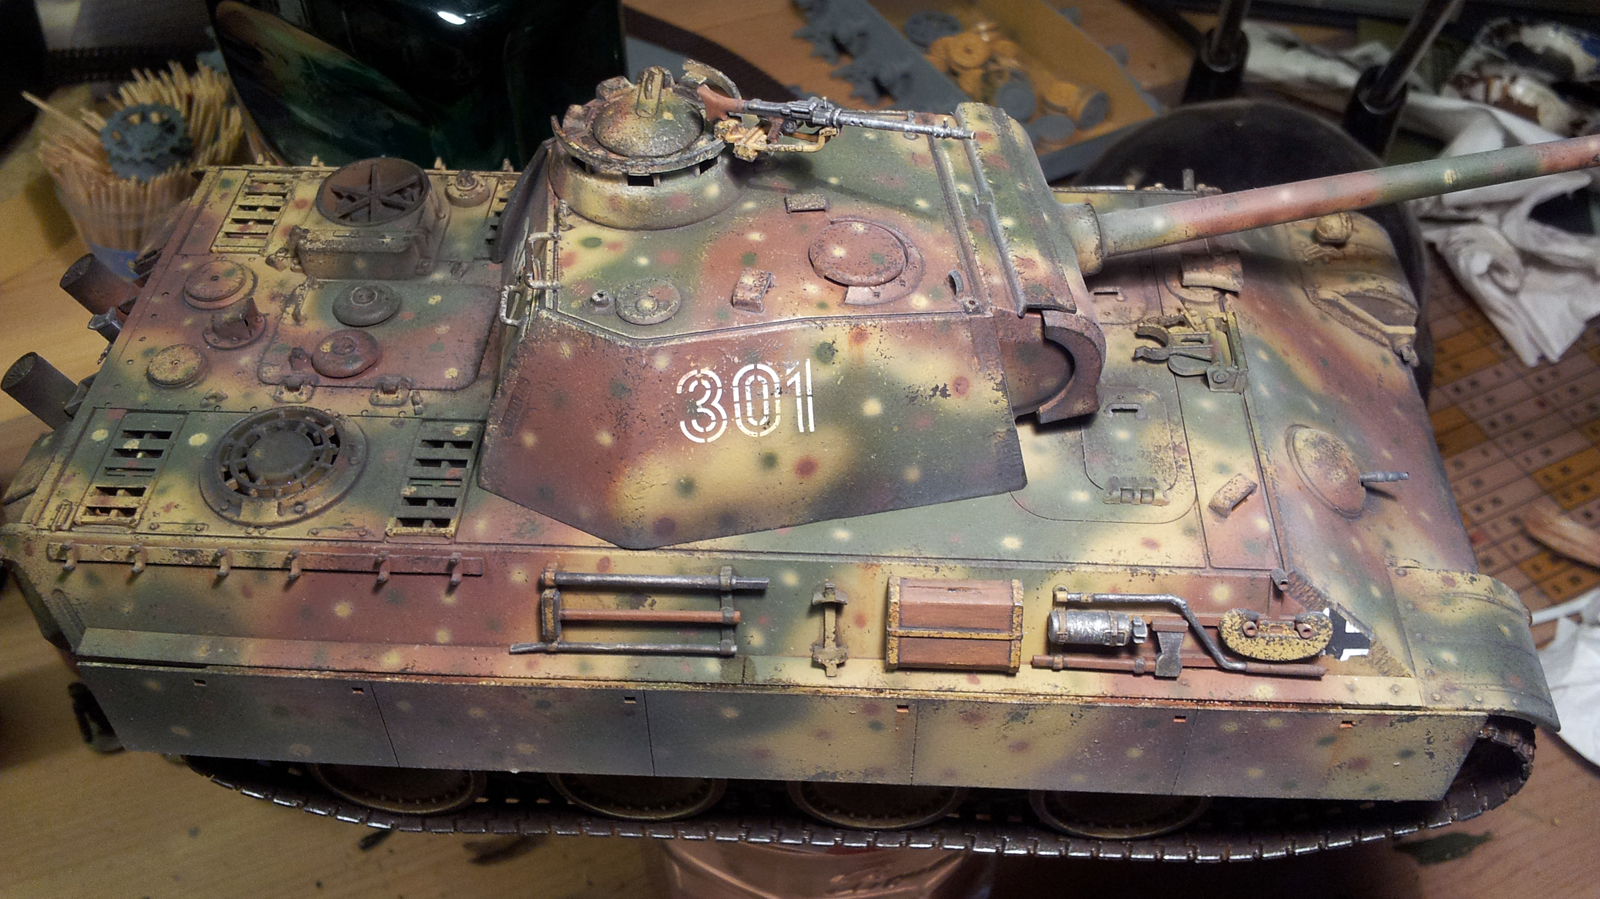
Got alot more work done, and I think I'm pretty close to calling it finished. Still need to finish the wheels and tracks, perhaps some pigments and then a matt varnish.


*Update 17.04.2012*
I managed to basicly finish my Panther today, so yay to me. But I actually still need to do some spare tracks for the track rack on the side of it, paint the commander and perhaps give it an overall matt varnish.


But for now, I'm calling it finished, and I'm rather happy with my result, especially since its been quite a while since I did a vehicle in 1/35 and also I've been trying out alot of new stuff on this kit.


So to recap, this kit was a Panther G, Late Version, from Tamiya, which I build totally out of the box with no extra stuff, though I'm considering using another commander for it, but still painting the standard one to for the training.


And without further ado I present Le Kitty.


Well actually, I would like to apologize for the quality of the pictures (was taken with my phone cause I didn't have my camera (which isn't actually much better :-D))


Now the Panther...


(For more pictures of the totally finished version go here)


Any critique, suggestions or praise would be greatly appreciated, naturally praise is prefered. Use the comments below or this thread.


Thank you very much for checking out my blog, and stay tuned for new projects and posts.


Chris

Tuesday, February 28, 2012

Jagdtiger - Trumpeter (07293)


So lately I have been building more Jagdtigers, after i finished the two Dragon Jagdtigers (which turned out abit meh meh) they can be seen here, here and here. This time I build another Dragon Jagdtiger and one of my 3 Jagdtigers made by Trumpeter. Like most of my other kits these were also bought from HobbyEasy and like basicly all other Trumpeter kits they were rather cheap, but don't let that fool you, this is an awesome kit.

I don't really have alot of pictures during the whole assembling and painting process, but unlike my last Jagdtigers I decided to paint these like all of my other kits, nice and simple, and I like this result so much more. If you are looking for the exact way I painted them, I bet you can find it in one of my older posts.

Well here is the wall of pictures

Trumpeter Jagdtiger first:


Dragon Jagdtiger:


Both:


Comparison with the other tigers:
Of course I don't know about you, but I like the simple method best, sure the others could have looked alot better I suppose, if I had the skills to pull the other method off, which sadly I don't. But on the bright side I prefer the simplicity and speed of my own method and the results have so far been fairly good.


Thank you for droping by, I promise to update with something new again soon, but the next project might be some Space Marines :)
Next tank will be some King Tigers or my 1/35 Panther G (or both at the same time :p )


Until next time.


*Bonus Update*

I thought I would just show some pictures of the collection, they aren't great because the light wasn't optimal.


The allies are slightly outnumbered :D