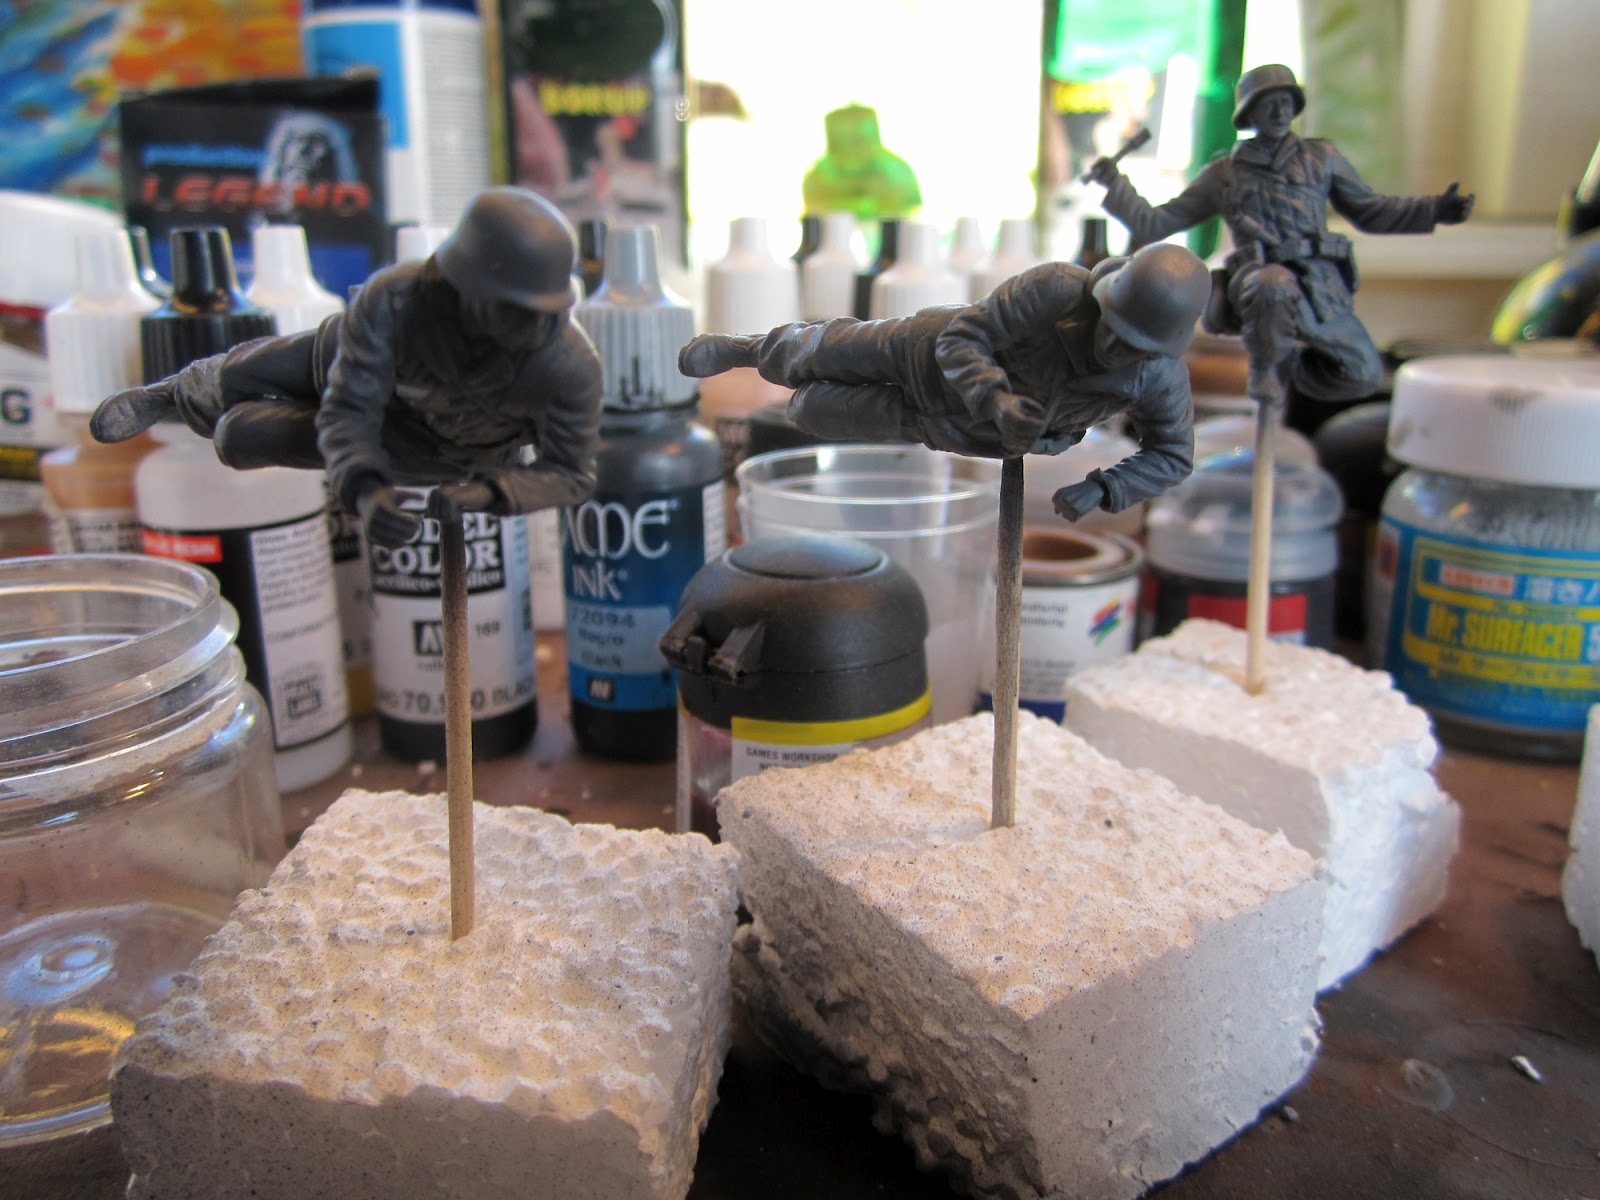
I build this kit same time ago, last year actually, and what can I say? it's a good kit, just like any other Dragon kit in this scale. It's almost identical to the Ferdinand I build, the kit who got me hooked on this scale.
This kit might not be quite as detailed as the newer Dragon kits, but if you would like to build an Elephant Tank Destroyer in this scale I would recommend this one without hesitation. I believe most of the Elephant tanks produced was build with zimmerit, and as you can see on the box art, it's depicted with it here as well. Sadly Dragon haven't included it in this set, which they do on some of their newer releases (which is awesome). But if you want zimmerit I don't think it would be to hard making yourself on this kit, since all the surfaces are quite large and accessible, or you could buy some PE zimmerit, which I'm sure you can find somewhere to a decent price.
Painting
I started by priming the entire tank with a grey primer from Vallejo.
Then I painted en entire tank with Dark Yellow, also from Vallejo (I ran out of Tamiya Dark Yellow...) but it's actually quite nice.
After the yellow had dried, I started with my camouflage pattern, nothing fancy really just Red Brown and Olive Green (Tamiya)
The last thing I managed to get done before I had to stop for the day, was a coat of gloss varnish in preparation for whatever washes I might decide to give it.
Next step would probably be some sort of general brown wash, haven't decided if it should be oil or acrylic yet.
So I went ahead and gave the entire tank a general wash, I believe it's called a filter, I used some cheap oil colors I had laying around, which I have had mixed results with before. It feels like it might be wise to spend abit more on oil colors since the quality really matters for the result.
I then gave it another clear coat and I have started doing some pin washes with a darker brown/black'ish color. Afraid I don't have any pictures of this so far, but since I'm not done with it, it doesn't really matter :)
So let me just start by apologizing for not updating this for quite a while, that said I still managed to piss this guide/review down my leg, since I forgot to take progress pictures in the end, so sadly I only have pictures of the finished kit :-D hope you'll live.
But let me just sum up quickly what I did:
- Pin wash with dark brown/black'ish color
- Drybrush with buff/sandy color
- Decals
- Matt Varnish
- Painted tools, tracks etc.
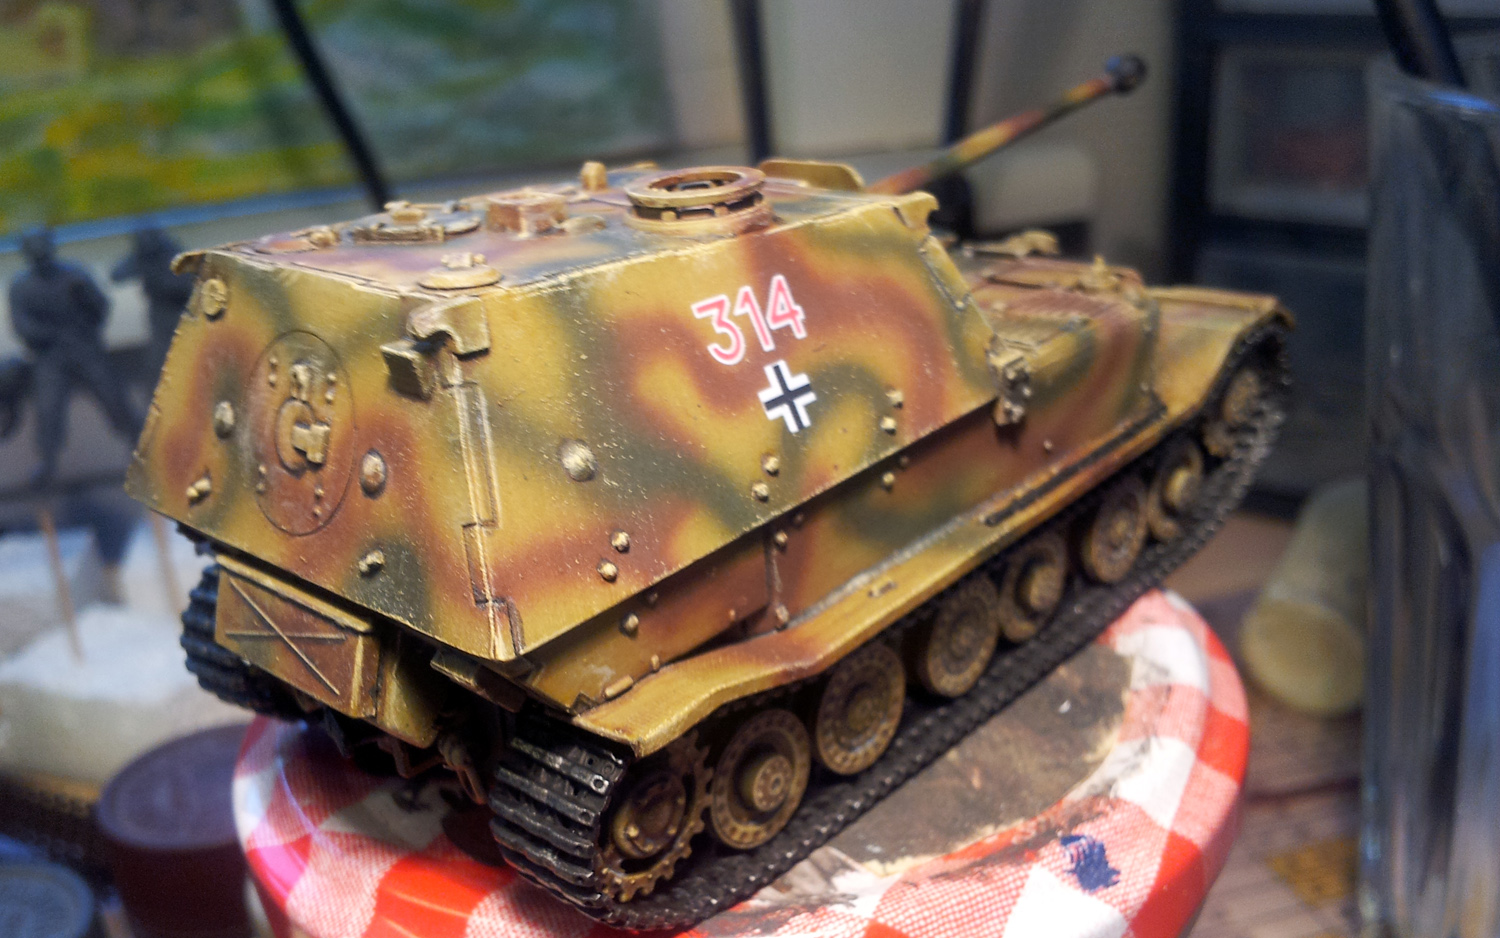
Think that was basicly it, in the end this build just kinda annoyed me, didn't quite turn out as I had pictured it, but I suppose It ain't to bad, so guess I can't complain.
But let me show you some pictures of the finished Elephant.
Hope you liked it.
Until next time!
Chris